Everything You Need to Know to Replace Vinyl Pool Liner in 2024
The Ultimate Guide to Replacing Vinyl Pool Liner
When your pool starts showing its age with cracks, tears, or hesitation to hold water, it might be time to replace vinyl pool liner. A well-fitted liner is crucial to keeping your pool functional and beautiful. But how do you know when it’s time to replace it, and what’s involved in the replacement process? Here’s a quick summary:
- Lifespan: Typically 5-9 years, but can last longer with proper care.
- Signs for Replacement: Visible cracks, tears, fading, or leaks.
- Cost: Average range from $250 to $5,000 depending on various factors.
- DIY vs Professional: Pros and cons to consider based on your expertise.
Replacing your vinyl pool liner is not just a matter of aesthetics—it’s essential for the longevity of your pool. An aging or damaged liner can lead to water leakage, which might cause costly damage to your pool’s structure. Moreover, replacing your liner offers an excellent opportunity to refresh the look of your backyard oasis with new patterns and colors, while also potentially upgrading your pool’s features.
I’m David Brabant, owner of Creative Edge Pools. With over 30 years of experience in swimming pool installation and maintenance, I’ve seen first-hand how crucial a high-quality vinyl pool liner is. This guide will walk you through everything you need to know about replacing your vinyl pool liner, from the signs that it’s time for a replacement to the benefits of professional installation.

How Often to Replace a Vinyl Pool Liner
Signs It’s Time to Replace
Vinyl pool liners are essential for maintaining your pool’s beauty and functionality. Generally, a well-maintained liner can last between 10 to 15 years. However, several factors can influence this lifespan, including water chemistry, sun exposure, and frequency of use.
Maintenance is Key
Maintaining your pool liner involves regular cleaning and balancing the water chemistry. Proper maintenance can extend the life of your liner, saving you money in the long run. Learn more about how to clean your pool and how to balance the water chemistry.
Signs of Wear
Even with the best maintenance, pool liners will eventually show signs of wear. Here are some key indicators that it’s time to replace your vinyl pool liner:
Cracks and Tears
Visible cracks and tears are clear signs that your liner is deteriorating. These defects can lead to leaks, which can be costly to repair. If you notice any cracks or tears, it’s time to consider a replacement.
Wrinkles
Wrinkles in your pool liner can be more than just an eyesore. They can indicate that the liner is stretching out or falling out of the track. This can affect the liner’s ability to hold water and may require immediate attention.

Discoloration
Over time, pool liners can become stained, discolored, or faded. While some fading is normal, severe discoloration can make it difficult to see the liner’s pattern. This is a sign that the liner has reached the end of its useful life.
Detachment
If you notice that the liner is detaching from the bead or falling out of the track, it’s a strong indication that the liner needs to be replaced. The bead holds the liner in place, and any detachment can compromise the pool’s structure.
Pro Tip: Don’t wait until your liner is severely damaged to replace it. Being proactive can save you from more expensive repairs down the line.
By recognizing these signs early, you can plan for a smooth replacement and avoid unexpected costs. Up next, we’ll dig into the costs associated with replacing a vinyl pool liner.
Cost of Replacing a Vinyl Pool Liner
Replacing a vinyl pool liner is a significant investment, but knowing what to expect can help you plan your budget effectively. Let’s break down the costs involved.
Price Range
The cost to replace a vinyl pool liner typically ranges from $1,000 to $6,000 or more. Most homeowners spend around $2,900. Several factors influence this range, including the type of pool (inground vs. above ground), the size of the pool, and the quality of the liner.
Factors Affecting Cost
Several elements can affect the overall cost:
- Pool Type: Inground pools generally cost more to reline than above-ground pools.
- Pool Size: Larger pools require more material and labor, increasing the cost.
- Liner Quality: Thicker and more durable liners are more expensive but may last longer.
- Labor: Professional installation adds to the cost but ensures the job is done correctly.
- Additional Features: Features like steps, lighting, and custom shapes can increase the price.
Inground vs. Above Ground
For a 12×24-foot pool:
- Inground Pool: Expect to pay between $1,500 and $3,000, including installation.
- Above Ground Pool: Costs range from $500 to $1,800 for the same size.
Breakdown of Costs
Material
The liner itself can cost anywhere from $100 to $1,000, depending on the type and quality:
- Overlap Liner: $100 – $500
- Unibead Liner: $400 – $900
- Beaded Liner: $500 – $1,000
Labor
Professional labor costs add significantly to the total. On average, labor can cost around $1,000 to $2,500, depending on the complexity of the installation.
Additional Features
Additional costs might include:
- New Skimmer Plates and Gaskets: Typically included, but always confirm with your contractor.
- Minor Repairs: Some contractors include patching up to a certain square footage.
- Water Refill: While not always included, it can cost around $100 or more, depending on your local rates.
Water Refill
After installing the new liner, you’ll need to refill your pool. This can cost less than $100 if you use tap water, but always check with your water supplier. Some suppliers might adjust sewer charges if you notify them in advance.
Understanding these costs helps you plan and avoid surprises. Next, we’ll explore the pros and cons of DIY replacement versus hiring a professional.
DIY vs Professional Replacement
Replacing a vinyl pool liner can be a big task, but some pool owners choose to do it themselves. Let’s look at the pros and cons, the difficulty level, and the tools needed.
Pros and Cons
Pros:
- Cost Savings: You can save on labor costs, which can range from $200 to $2,500.
- Flexibility: You can work on your own schedule.
Cons:
- Risk of Mistakes: Errors can be costly and time-consuming to fix.
- No Warranty: DIY work usually doesn’t come with a warranty.
Difficulty Level
Replacing a vinyl pool liner is a complex job that requires precision. If you’re not experienced, mistakes can happen easily. It’s essential to follow directions carefully and take your time.
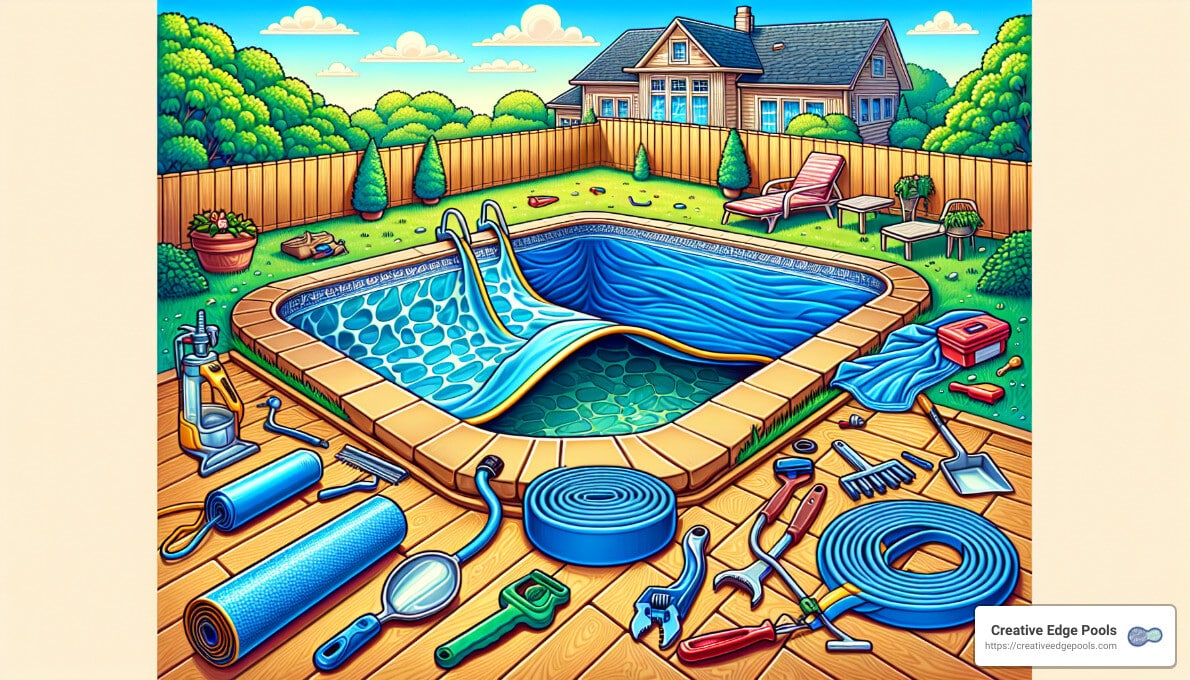
Tools Needed
- Utility knife
- Shop-vac or liner vacuum
- Spray adhesive (optional)
- Measuring tape
- Duct tape or rags (for sealing)
- Pool brush or broom
- Screwdriver
Steps to Replace a Vinyl Pool Liner Yourself
Step 1: Order Supplies
Make sure you have all the supplies and tools you need before starting. Double-check the liner size and any additional items like faceplates and gaskets.
Step 2: Drain Water
Turn off all pool equipment, including the pump and lights. Drain the pool carefully. Pro tip: Get help to avoid damaging your system or causing the pool to pop out of the ground.
Step 3: Remove Old Liner
Use a utility knife to cut out the old liner. Be careful not to damage the track. Remove faceplates and gaskets.
Step 4: Prep Pool
Inspect the pool walls and floor for cracks or corrosion. Fix any issues. Clean the pool thoroughly to remove all dirt and debris.
Step 5: Install New Liner
Line up the new liner according to the instructions. Tuck it into the track starting from the shallow end corners. Use a vacuum to make the liner flush with the walls and floor. Seal off any open areas to prevent air leaks.
Step 6: Fill the Pool
Start filling the pool from the deep end. Keep the vacuum running until the water is ankle-deep in the shallow end. Turn off the vacuum and restore the liner into the track.
Step 7: Replace Faceplates and Gaskets
Once the water is about a foot deep in the shallow end, replace the return, skimmer, and light gaskets and faceplates. Carefully cut out the liner inside the faceplates with a utility knife.
Step 8: Finish Up
Continue filling the pool until it’s full. Start up the filter and balance the pool water chemistry.
Replacing a vinyl pool liner yourself can save money, but it’s not for everyone. If you’re not confident, hiring a professional can help you avoid costly mistakes.
Next, let’s explore how to choose the right vinyl pool liner for your needs.
Choosing the Right Vinyl Pool Liner
Choosing the right vinyl pool liner is crucial. It impacts not only the look of your pool but also its durability and maintenance needs. Let’s explore the key factors to consider.
Liner Thickness and Material
Thickness (Mils and Gauge)
Liner thickness is measured in mils. One mil equals one-thousandth of an inch. Common thicknesses include 20, 27, 28, and 30 mils. Some regions use “gauge” instead of mils, but they are not the same. For example, a 30-gauge liner might be around 27 mils thick.
Thicker liners (27-30 mils) are more durable but cost more and can be harder to install. Thinner liners (20 mils) are easier to handle and less expensive. Regardless of thickness, all Latham liners come with the same warranty.
Embossed vs. Non-Embossed
Embossed liners have a textured surface, which can add grip but might trap dirt. Non-embossed liners are smooth and easier to clean.
Design and Aesthetic Options
Color Choices
The color of your liner affects both the look and feel of your pool. Darker colors like navy or bold blue absorb heat, making the water warmer. Lighter colors like light blue or aqua reflect heat, keeping the pool cooler. Medium shades offer a balance.
Patterns
Patterns can dramatically change your pool’s appearance. Options include tile, pebble, mosaic, seaglass, and marble. Each pattern adds a unique touch, so choose one that matches your style.
Visualizer Tools
Feeling overwhelmed by choices? Use tools like the Latham Liner Visualizer to see how different patterns and colors will look in your pool. This tool helps you visualize your options before making a decision.
All our liners are made from 100% virgin vinyl, making them resistant to tearing, puncturing, and cracking, even in extreme temperatures. Quality inks and a clear coating ensure patterns stay vibrant and resist abrasion.
Choosing the right liner involves balancing aesthetics, durability, and cost. Up next, we’ll discuss the benefits of professional installation.
Benefits of Professional Installation
What to Expect from a Professional Service
Expertise
Hiring a professional for your pool liner replacement means you’re getting someone with extensive training and experience. Professionals use specialized tools to ensure precise liner cuts and fit. This minimizes the risk of leaks, tears, or any other issues that could arise from improper installation.
Warranty Protection
One of the biggest perks of professional installation is warranty protection. DIY installations often void warranties, leaving you unprotected if something goes wrong. With a professional, you get the peace of mind knowing that your new liner is covered.
Code Compliance
Experienced pool builders are well-versed in state and local pool laws. They ensure your project complies with all applicable building codes and obtain the necessary permits. This helps you avoid legal issues and potential fines down the line.
Installation Process
Here’s a general overview of what you can expect during a professional installation:
- Initial Consultation: The professional will assess your pool and discuss your needs.
- Preparation: They will drain the pool, remove the old liner, and fix any cracks or defects.
- Liner Installation: The new liner is carefully fitted and secured into the track.
- Finishing Touches: Faceplates, gaskets, and other components are installed once the water level reaches a foot in the shallow end.
- Final Inspection: The professional will ensure everything is in place and functioning correctly.
Timeline
Professional installations are typically quicker than DIY projects. The entire process can often be completed within a few days, depending on the complexity of your pool and any additional features you choose to add.
Additional Features
Replacing your vinyl liner is a great opportunity to upgrade your pool. Consider adding:
- Tanning Ledges: Perfect for lounging and soaking up the sun.
- Custom Steps: For easier and safer access to your pool.
- Safety Covers: To protect your pool when not in use.
Professionals can seamlessly integrate these features into your new liner installation, enhancing both the functionality and aesthetics of your pool.
Up next, we’ll answer some frequently asked questions about replacing vinyl pool liners.
Frequently Asked Questions about Replacing Vinyl Pool Liners
How much does it cost to replace a vinyl pool liner?
Replacing a vinyl pool liner typically costs around $4,500 or more. This price includes the vinyl liner, labor, chemicals, and water to refill the pool. The actual cost can vary based on your pool size, the type of liner you choose, and the contractor you hire. For a more detailed breakdown, consider factors like:
- Material Cost: The vinyl liner itself can range from $100 to $5,500, depending on thickness and design.
- Labor: Professional installation can cost between $200 to $2,500.
- Additional Features: Upgrades like tanning ledges or custom steps will add to the cost.
Can you replace a pool liner yourself?
Yes, you can replace a pool liner yourself, but it’s a complex and challenging task. DIY replacement can save you money on labor costs, but it requires precise skills and specific tools. Mistakes during installation can lead to costly repairs and a shorter liner lifespan. Here are some key points to consider:
- Pros: Save on labor costs, sense of accomplishment.
- Cons: Risk of improper installation, potential warranty void, need for specialized tools.
If you’re not experienced, it’s often best to hire a professional to ensure a perfect fit and avoid expensive mistakes.
How often do vinyl pool liners need to be replaced?
On average, vinyl pool liners need to be replaced every 5-9 years. However, with proper maintenance, some liners can last up to 10-15 years. The lifespan depends on factors like:
- Water Chemistry: Balanced water chemistry extends liner life.
- Sun Exposure: UV rays can weaken the liner over time.
- Usage: Frequent use can lead to quicker wear and tear.
- Liner Thickness: Thicker liners generally last longer.
Signs that it’s time to replace your liner include visible cracks, tears, wrinkles, or significant fading.
Next, let’s dig into the benefits of professional installation and what to expect from a professional service.
Conclusion
Replacing your vinyl pool liner is an essential part of maintaining the beauty and functionality of your pool. Whether you choose to DIY or hire a professional, understanding the process and costs involved can help you make an informed decision.
At Creative Edge Pools, we specialize in changing your backyard into a paradise. Our team has over a hundred years of combined experience in pool renovation and installation, ensuring that your project is in expert hands. We handle everything from vinyl liner installation to complete backyard makeovers.
Why Choose Us?
- Expertise: Our professionals are extensively trained to ensure a perfect fit for any pool shape or size.
- Warranty Protection: Professional installation helps maintain your liner’s warranty.
- Comprehensive Services: From design and planning to final touches, we manage every aspect of your pool project.
- Customer Satisfaction: As a family-owned business, we care about delivering the best quality and service to our clients.
Ready to give your pool a fresh, new look? Contact us today to discuss your project and get a free estimate. Visit our Vinyl Liner Installation page for more information.
Transform your backyard with Creative Edge Pools \- where dreams come to life!