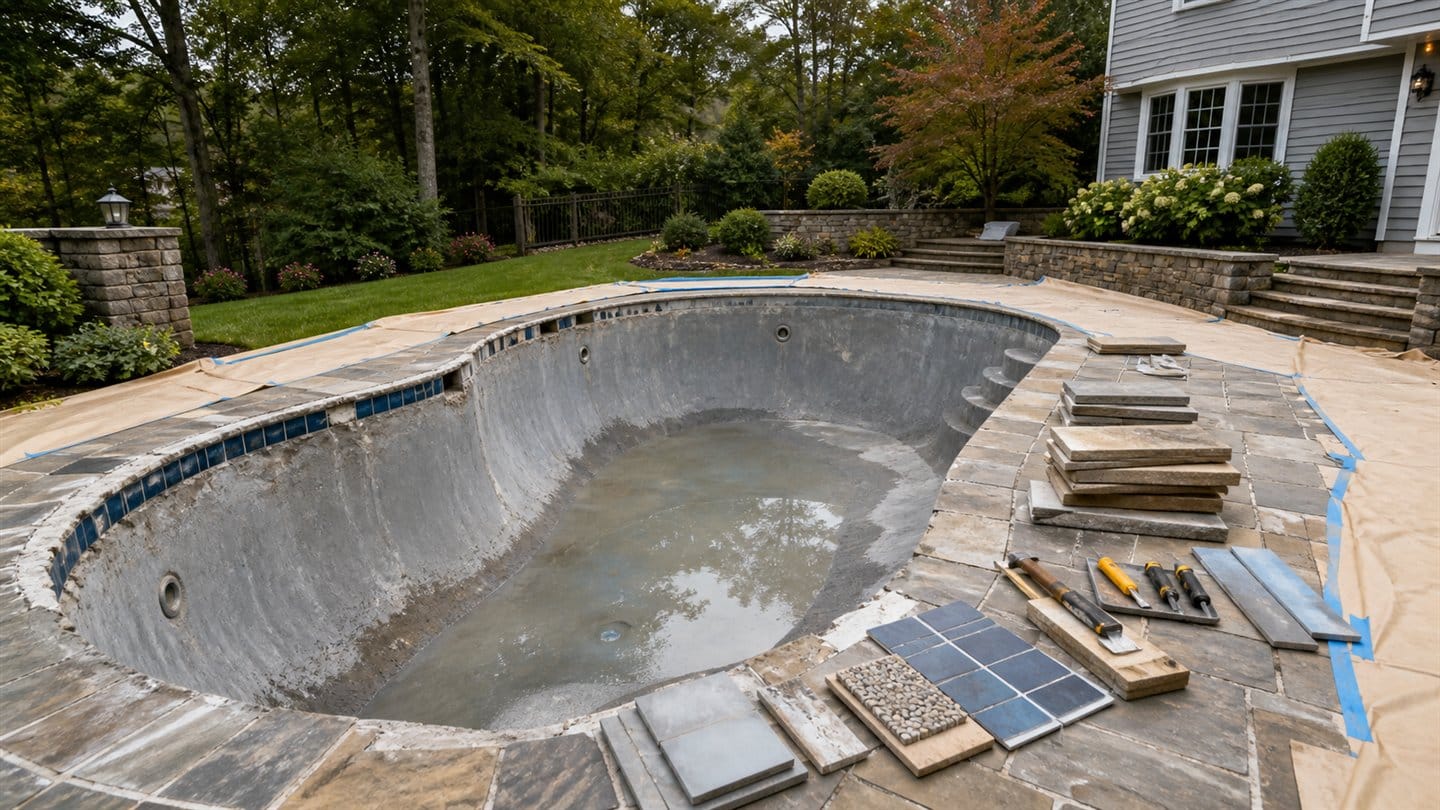
A gunite pool renovation works best as a sequence, not a collection of unrelated upgrades. The usual order is assessment and scope, draining and selective demolition, shell and plumbing review, structural repairs, tile and coping work, interior finishing, then refill, startup, and handoff. The exact order can change when the pool is opened up and hidden conditions become visible.
For Massachusetts and New Hampshire homeowners, that sequence matters because weather, groundwater, material lead times, and cure requirements can affect when one phase is ready for the next. The practical goal is to settle the right decisions before demolition and leave room to respond to verified conditions afterward.
The gunite pool renovation process at a glance
| Phase | What the crew is resolving | Owner checkpoint |
|---|---|---|
| 1. Assessment and scope | Visible wear, leaks, finish condition, tile, coping, deck transitions, plumbing, and desired upgrades | Separate required repairs from optional design changes |
| 2. Drain and demolition | Controlled water removal and removal of only the materials included in the approved scope | Confirm access, protection, disposal, and change-order rules before work begins |
| 3. Exposed-condition review | Shell, penetrations, fittings, plumbing interfaces, and substrates that were not fully visible earlier | Review documented findings before approving added work |
| 4. Repairs and rough work | Approved shell repairs and plumbing or equipment changes that must happen before finishes close the work | Verify the revised scope and selections |
| 5. Tile, coping, and transitions | Waterline tile, pool edge, expansion details, and interfaces with the surrounding deck | Confirm material layout and how new work meets retained surfaces |
| 6. Interior finish | Surface preparation, application, and curing under the selected finish system | Follow the finish-specific refill and startup instructions |
| 7. Refill, startup, and handoff | Continuous refill when required, water startup, equipment checks, and care guidance | Receive operating instructions and record any follow-up items |
This dependency-based order is consistent with the major stages described in PebbleTec’s renovation process guide. It is a planning model, however, not a promise that every pool needs every phase or that all materials use the same installation procedure.
Start by separating repairs from upgrades
Before choosing colors or finishes, divide the proposed work into three groups:
- Condition-driven work: items supported by inspection, testing, or clearly documented deterioration.
- Dependency work: items that should be addressed because another component is already being removed or opened.
- Elective upgrades: appearance, convenience, or feature changes that are not required to complete the repair.
This distinction gives the estimate a clearer structure. It also makes later decisions easier if demolition reveals a condition that could not be confirmed from the surface.
Turn those groups into an approval record with four columns: included now, excluded now, price allowance, and approval required after exposure. That small structure keeps a design preference from being mistaken for a required repair and gives both parties a defined place to record newly discovered work.
Why demolition is a decision point, not just a construction step
A drained pool does not automatically reveal every issue. Selective demolition exposes substrates, bond areas, penetrations, and transitions that can change the final repair plan. Ask the contractor to document newly visible conditions with photos or notes, explain why any added work is recommended, and price the change before proceeding whenever the situation allows.
That approach avoids two common planning mistakes: treating the first estimate as if hidden conditions cannot exist, and treating every new observation as proof that the entire scope must expand.
Coordinate the shell, plumbing, tile, coping, and deck
Pool components meet at edges and penetrations, so one trade can affect the next. A plumbing change may need to happen before the interior finish. Coping work can affect the pool edge and adjacent deck transition. Waterline tile needs a sound, properly prepared base before the finish is completed below it.
Use a written scope that identifies what will remain, what will be removed, and who owns each transition. If the project includes waterline damage, use the pool tile damage assessment checklist to record patterns before approving a tile-only fix. If movement or deterioration is concentrated at the pool edge, the pool coping repair guide explains the questions to settle first.
Make finish choices before they become schedule decisions
The interior finish is late in the physical sequence but early in the decision sequence. The product, color family, texture, startup requirements, and compatible tile or coping details should be settled before the project reaches the finish phase. Ask for the manufacturer’s current installation and startup instructions for the exact selected system.
Changing a material after demolition can affect availability, preparation, and sequencing. A useful selection record includes the manufacturer, product line, color, sample approval, and any owner care requirements.
What controls the renovation timeline?
There is no responsible universal duration for a gunite pool renovation. A finish-only project and a project involving shell repairs, plumbing changes, tile, coping, and deck transitions are different jobs. Timing can also depend on:
- the condition found after draining and selective demolition;
- the availability of the selected materials;
- weather and site water conditions;
- manufacturer cure, refill, and startup requirements;
- inspection or coordination needs for work outside the original scope; and
- access for crews, debris removal, and material delivery.
Instead of asking only for a completion date, request a phase schedule with decision deadlines. It should show what must be approved before demolition, what may be confirmed after exposure, what evidence triggers a stop-and-review checkpoint, and what conditions could legitimately pause the next phase.
A pre-demolition checklist for owners
- Identify retained components and the exact limits of demolition.
- Record material selections and acceptable substitutions in writing.
- Define how hidden conditions will be documented and authorized.
- Confirm access, yard protection, debris handling, and cleanup responsibilities.
- Ask who provides refill and startup instructions for the selected finish.
- Clarify warranties by component rather than assuming one warranty covers the entire project.
- Keep a final handoff list for care instructions, product records, and unresolved items.
Plan the renovation around verified conditions
A sound renovation plan fixes the required work, coordinates dependent components, and places elective upgrades where they will not disrupt the sequence. Creative Edge Pools’ gunite pool renovation service is the next place to review the established service scope and discuss which phases apply to a specific Massachusetts or New Hampshire pool.